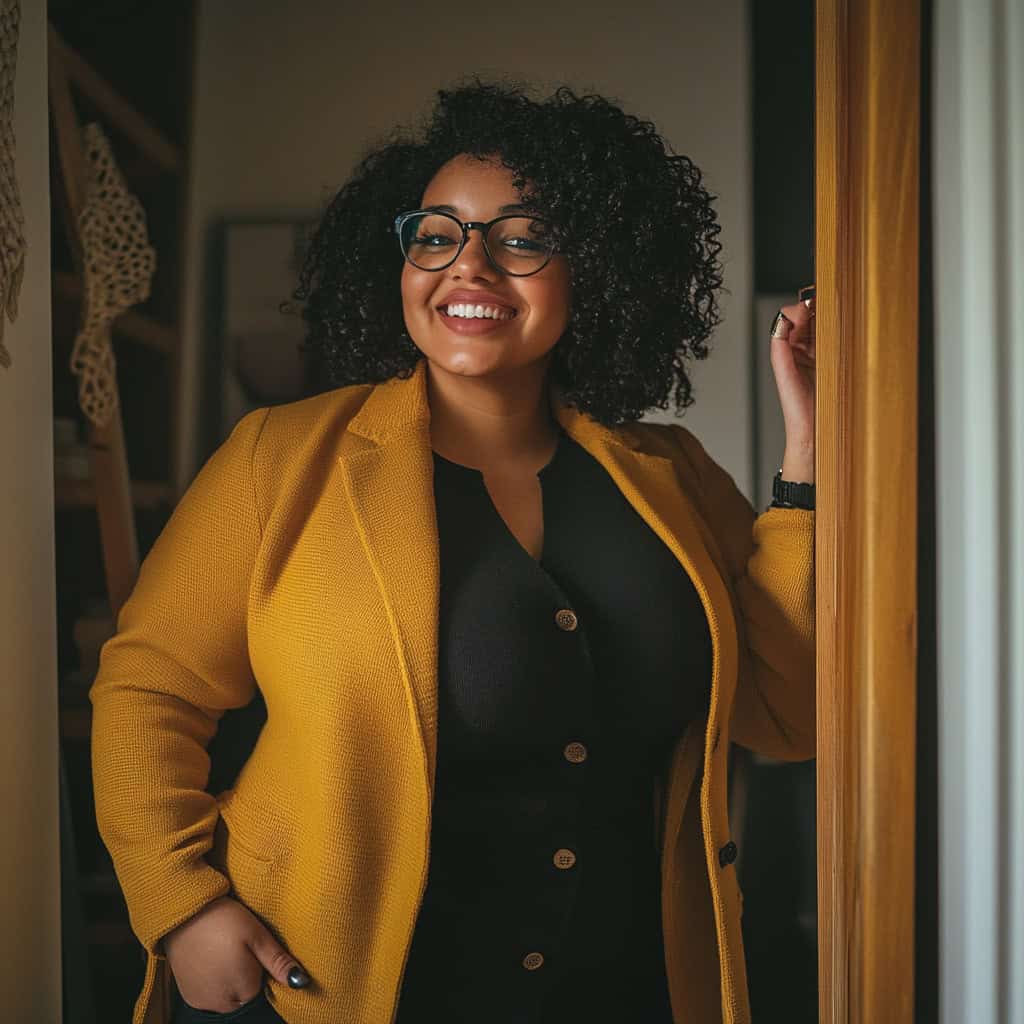
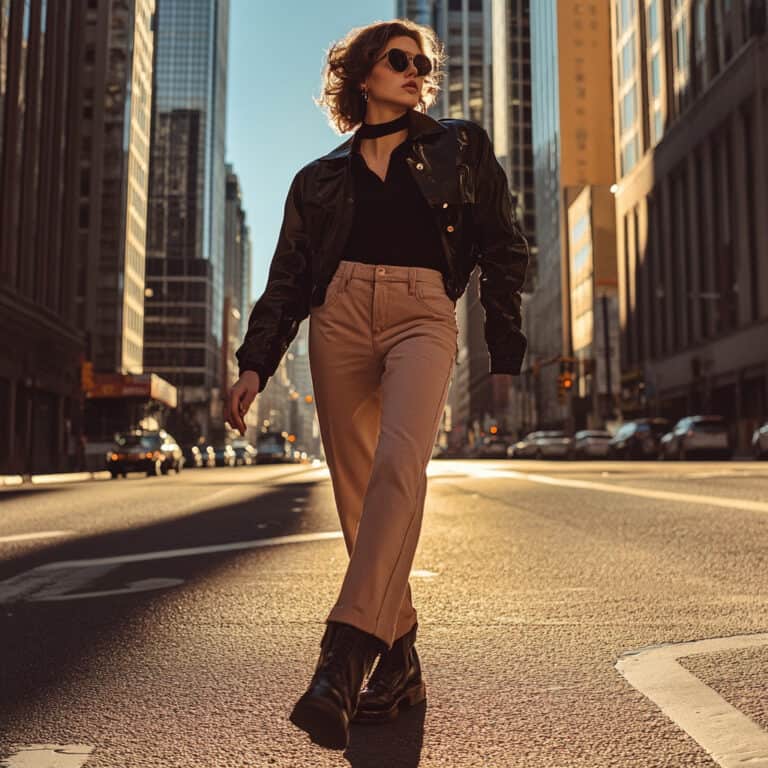
Wearing clothes that fit well isn’t just about looking good; it’s about feeling comfortable and confident in your outfit.
I used to be into bodybuilding, and most of my size Large shirts fit me well, draping over my body nicely. As I got out of bodybuilding, though, and worked to lose a bit of mass while staying trim, I didn’t notice my clothes fit me differently. One day I was watching “Queer Eye…” and Tan was telling a guest about where the shoulder seams should lie on a properly-fitted shirt. The friend sitting next to me gave me a smirk. Next thing I knew, I was graduallyl replacing all my shirts with size Medium, and looked SO much better.
When your clothes fit properly, you move easily, your outfit stays in place, and you avoid the frustration of constantly adjusting or tugging at your clothing. Understanding how clothes should fit and knowing how to fix them when they don’t is a valuable skill. Let’s explore why fit matters and how you can ensure your clothes always look and feel just right.
How to Know If Your Clothes Fit
The Basics of Fit: Too Large, Too Small, or Just Right?
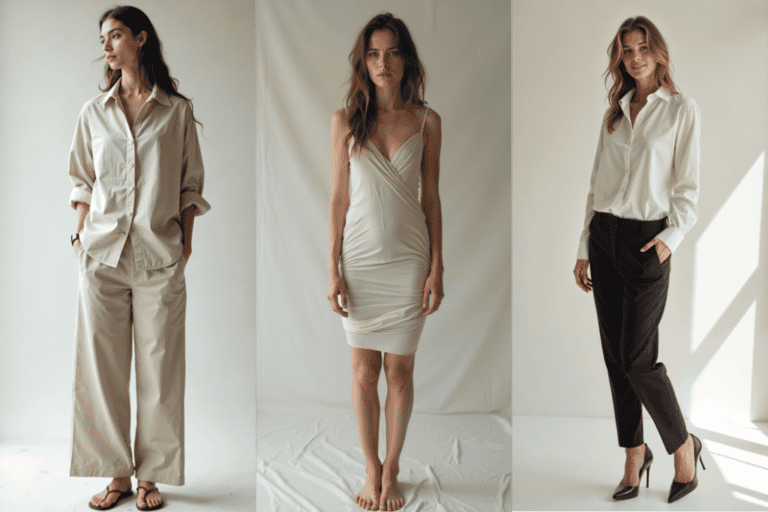
When it comes to clothing, fit is everything. Here’s how you can tell if your clothes are the right size:
Tops and Shirts:
- Too Small: Shoulder seams sit too high, buttons gap across the chest, or you feel restricted in your arms.
- Too Large: Shoulder seams droop past your shoulders, sleeves are too long or baggy, and the fabric looks bulky when tucked in.
- Just Right: Shoulder seams align with the edge of your shoulders, fabric drapes smoothly, and you can move your arms comfortably.
Bottoms (Jeans, Skirts, and Leggings):
- Too Small: Waistbands dig in, closures are difficult to fasten, and the fabric creates unflattering bulges.
- Too Large: Waistbands gap, fabric sags at the seat, and you constantly need to pull them up.
- Just Right: Waistbands fit snugly without pinching, and the fabric follows the contours of your body without being too tight or loose.
Outerwear (Jackets and Blazers):
- Too Small: Feels tight across your shoulders, restricts layering, or buttons pull when fastened.
- Too Large: Hangs loosely, with drooping shoulders and overly long sleeves.
- Just Right: Allows for comfortable layering, shoulder seams align with your shoulders, and the garment closes without pulling.
How to Take Accurate Measurements
Accurate body measurements are essential for finding clothes that fit well. Here’s a detailed, step-by-step guide to measuring your body, including the steps to measure for your bra size.
Once you have your measurements, compare them to the size chart provided by the clothing brand. Sizes can vary between brands
1. Bust/Chest Measurement
- Step 1: Prepare Your Tools: You’ll need a flexible measuring tape, a mirror, and preferably a friend to help with accuracy, though you can also do this on your own.
- Step 2: Wear a Well-Fitting Bra: For women, wear a bra that fits you well without any padding to get the most accurate bust measurement.
- Step 3: Stand Straight: Stand up straight with your arms at your sides. You can stand in front of a mirror to make sure the tape is level.
- Step 4: Measure Around the Fullest Part: Wrap the measuring tape around the fullest part of your bust (usually across the nipples). Make sure the tape is level across your back and isn’t too tight or too loose.
- Step 5: Record the Measurement: Note the measurement where the tape meets at the front of your chest. This is your bust/chest measurement.
2. Waist Measurement
- Step 1: Find Your Natural Waistline: Your natural waistline is the narrowest part of your torso, usually just above your belly button. It might help to bend sideways; the natural crease that forms is your waistline.
- Step 2: Wrap the Tape Around Your Waist: Stand up straight and wrap the measuring tape around your natural waistline. The tape should be snug but not tight.
- Step 3: Record the Measurement: Make sure the tape is level all the way around and record the measurement where the tape meets.
3. Hips Measurement
- Step 1: Stand with Feet Together: Stand with your feet together to ensure the most accurate hip measurement.
- Step 2: Measure Around the Fullest Part: Wrap the measuring tape around the fullest part of your hips and buttocks, usually about 7-9 inches below your waist. The tape should be level and snug but not tight.
- Step 3: Record the Measurement: Note the measurement where the tape meets.
4. Inseam Measurement
- Step 1: Wear Proper Footwear: Wear the type of shoes you’ll most likely wear with the pants you’re measuring for, as this can affect the length.
- Step 2: Measure from the Crotch to the Ankle: Stand up straight and place the tape measure at the top of your inner thigh, right at the crotch. Measure down to the bottom of your ankle, where you want the hem of your pants to end.
- Step 3: Record the Measurement: Note the measurement where the tape reaches your ankle.
5. Shoulder Width Measurement
- Step 1: Stand Straight: Stand up straight with your shoulders relaxed.
- Step 2: Measure Across Your Back: Place the tape measure at the edge of one shoulder and measure straight across your back to the edge of the other shoulder. The tape should run across the top of your back, just below the base of your neck.
- Step 3: Record the Measurement: Make sure the tape is straight and level, then record the measurement.
6. Bra Size Measurement (Band Size and Cup Size)
Part 1: Measure for Band Size
- Wear a Well-Fitting Bra: Put on a bra that fits you well without any padding.
- Step 1: Measure Under the Bust: Wrap the measuring tape around your ribcage, directly under your bust where the band of your bra sits. Make sure the tape is level all the way around and snug but not tight.
- Step 2: Round the Measurement: If your measurement is an odd number, round up to the next even number. This is your band size in inches (e.g., if you measure 33 inches, round up to 34 inches).
Part 2: Measure for Cup Size
- Step 1: Measure Over the Bust: Wrap the measuring tape around the fullest part of your bust (usually across the nipples). Ensure the tape is level and not too tight.
- Step 2: Record the Measurement: Note the measurement where the tape meets.
- Step 3: Calculate the Cup Size: Subtract the band size (from Step 1) from the bust measurement. The difference between these two numbers will determine your cup size:
- 0 inches: AA cup
- 1 inch: A cup
- 2 inches: B cup
- 3 inches: C cup
- 4 inches: D cup
- 5 inches: DD/E cup
- 6 inches: DDD/F cup
- 7 inches: G cup
For example, if your bust measurement is 37 inches and your band size is 34 inches, the difference is 3 inches, which corresponds to a C cup. Your bra size would be 34C.
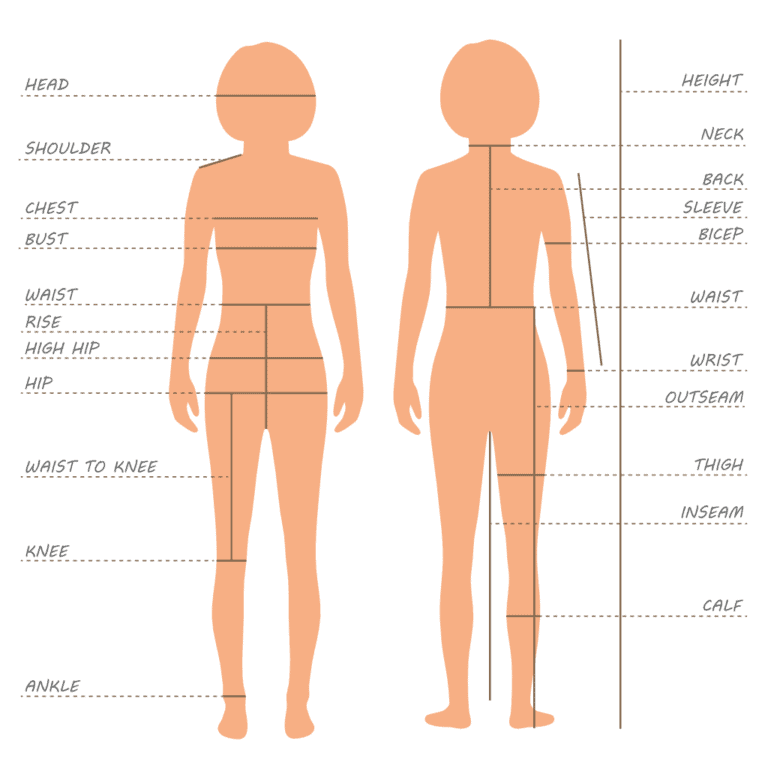
Sizing diagram
Here’s a diagram trying to show you exactly where these different measurements need taken on your body.
Using Your Measurements to Find the Right Fit
Once you have your measurements, compare them to the size chart provided by the clothing brand. Sizes can vary between brands, so always check the chart rather than assuming your usual size will fit. If you’re between sizes, consider the fabric and style of the garment—opt for a smaller size if the fabric has stretch, or a larger size for more structured materials.
Embracing Your Unique Fit
Seek out clothes that fit your body. Don’t try to make your body fit the clothes.
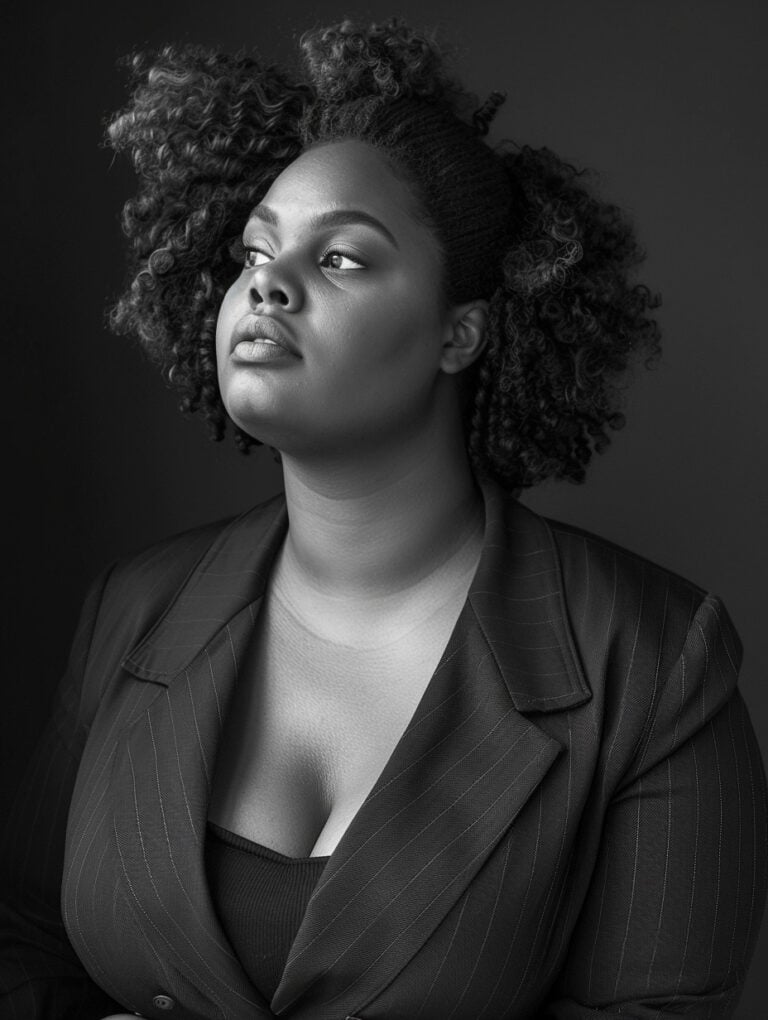
Celebrating All Body Types
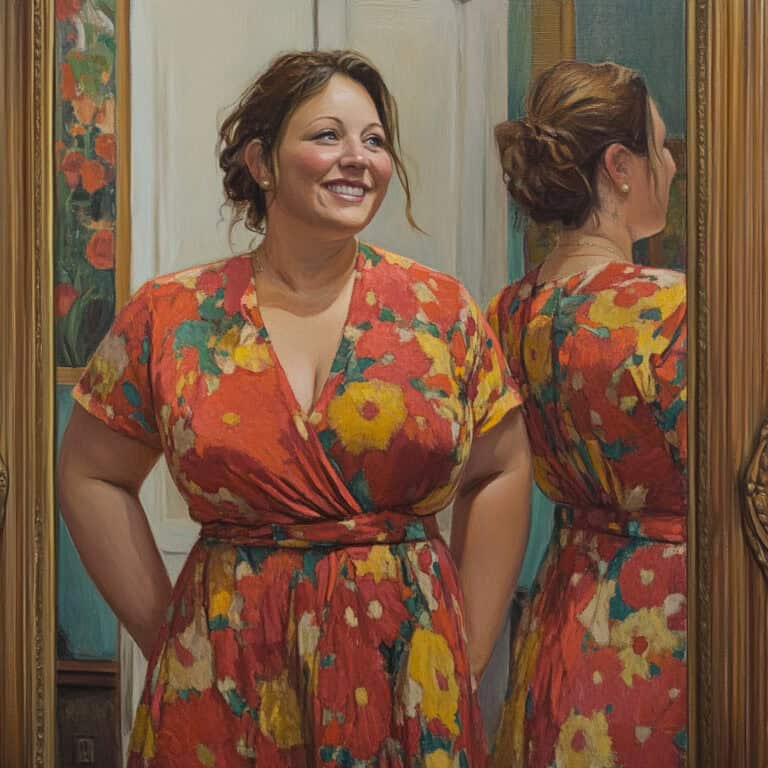
Every body is unique, and there’s no one-size-fits-all when it comes to clothing fit. Whether your body shape is commonly described or doesn’t fit neatly into a category, it’s important to embrace the diversity of body types. Clothing should be about making you feel confident and comfortable in your skin, not about conforming to a specific standard.
Inclusivity in Fashion
Fashion has come a long way in recognizing the need for inclusive sizing and fit, but there’s still work to be done. Many brands now offer extended sizes and designs that cater to a broader range of body shapes. When shopping, look for brands that prioritize inclusivity, offering a wide range of sizes and cuts designed to fit different body types.
Tips for Finding Your Unique Fit
- Focus on Fit Over Size: This is the main point of the whole article, friends! Remember that the size on the label is just a number. The most important thing is how the clothing fits and makes you feel. Don’t be afraid to size up or down depending on the brand or style.
- Experiment with Different Styles: Just because something is labeled for a specific body type doesn’t mean it won’t work for you. Try on different styles and cuts to find what truly feels right for your body.
- Seek Out Brands That Embrace Inclusivity: Some brands are known for their commitment to offering inclusive sizing and designing clothes for all body shapes. Supporting these brands not only helps you find a better fit but also encourages the fashion industry to continue expanding its inclusivity efforts.
Confidence in Your Unique Shape
No matter your size or shape, confidence is the best thing you can wear. When you find clothes that fit well and reflect your personal style, it’s easier to embrace your body’s uniqueness. Celebrate what makes you different, and remember that fashion is about expressing who you are—not fitting into a mold.
Final Thoughts
Understanding how clothes should fit and knowing how to adjust them when they don’t is key to dressing well. When your clothes fit properly, you not only look better but also feel more comfortable and confident. Whether you’re buying new clothes, tailoring old favorites, or making do in a pinch, these tips will help you ensure your wardrobe works for you. Remember, the right fit is all about balance—neither too tight nor too loose, but just right for you.
More clothing size talk from Girl Friday
- Is Bigger Really Better? The Truth About Oversized Clothes
- Why squeezing into smaller sizes won’t make you look better
More things from other places
- How to Take Body Measurements for a perfect fit – A step-by-step guide on how to accurately measure your body.
- Understanding Vanity Sizing – An article explaining the concept of vanity sizing.
- 5 Benefits of Tailoring your Clothes – A look at how tailoring can save you time and money while giving you the best look.
Leave a Reply